
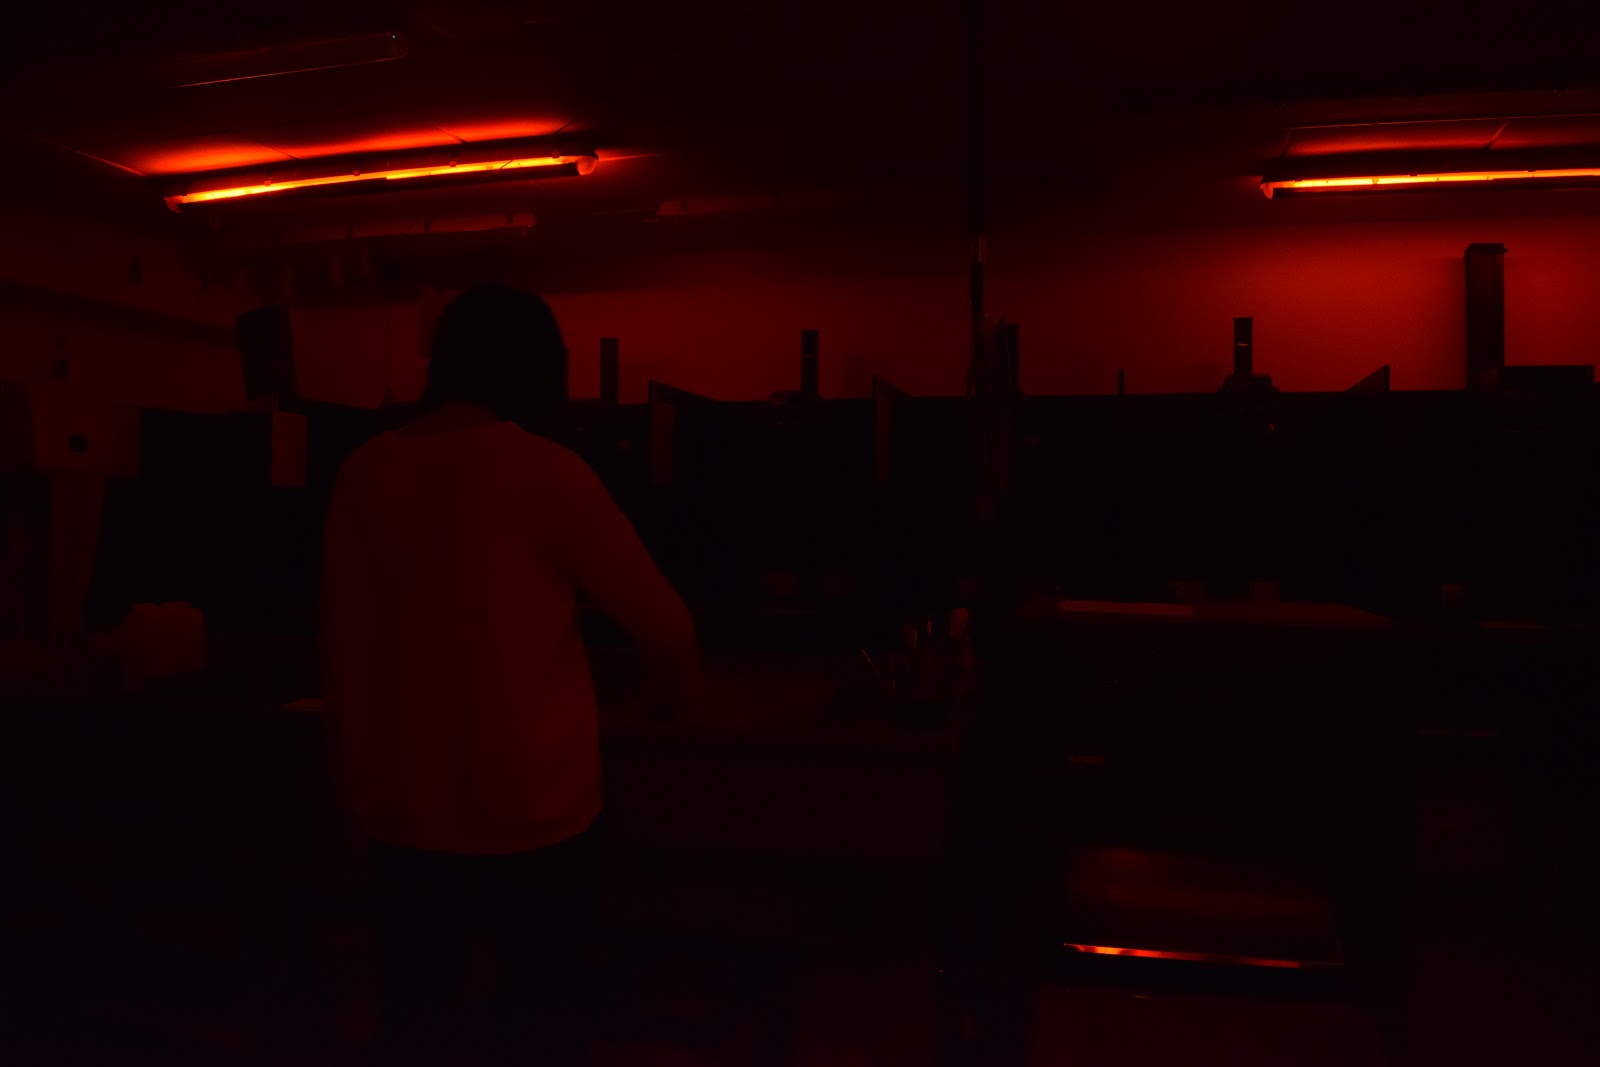
Health, Safety & Rules of The Darkroom

The health and safety of you and of others around you should be at the forefront of any photo graphical darkroom enthusiast. Below is a list of the key points that will prevent any minor or major incidents from occurring whilst working in the darkroom.

  • Food and drink must not be eaten or drunk inside the darkroom.
  • The extractor fan must be turned on whenever working with any chemicals in the darkroom.
  • If you are using any chemicals, then either tongs or gloves must be used.
  • If your skin comes into contact with any chemicals, then make sure that this is washed immediately.
  • If there is spillage (may it be on worktops or on the floor), make sure to clear it up immediately to prevent anyone from slipping.
  • Do not run inside the darkroom.
  • Darkroom chemicals must not be consumed.
  • Do not touch or interfere with anyone else's workstations or work at any time.
  • When you have finished using the darkroom, make sure that your workstation is tidy with no objects left under enlargers and no prints left in the chemicals.
  • If you are touching electrics, then make sure that you have dry hands.
  • No smoking inside the darkroom.
  • No phones can be turned on when inside the darkroom.
  • Do not use the tongs backward through the developing process unless they have been washed.

Comments

Popular posts from this blog

Stitching/Panorama

I created a stitched (photo merge) image by taking many photographs which overlap very slightly in order to produce a final panoramic image. I began by opening photoshop and going to the "File" menu and then "Automate" and then clicking on "Photomerge". By doing this, it opens up a tab which allows me to change what sort of photo merge I am going to produce and it also allows me to browse the files that I would like to use for the photo merge. I then browsed through my files to find the exact files that I wanted to use. Once I clicked open, it layered and merged the photos together into one final panoramic image. Once the final image was created I flattened the image by hovering over the "Layer" and then clicked on "Flatten Image" which brought all the layer into one. Below are my 2 final panoramic images that I created. The 2 final images above are underexposed so when I create a panoram...

Hyper-Lapse

I created my hyper-lapse by placing my camera carefully on top of a tripod. I then positioned the tripod which had my camera on the edge of a pavement so that my main subject was positioned centrally in the frame. Next, I took a shot of the subject standing still on the curb of the pavement and every time I took a shot, I tracked backward whilst the subject moved forwards. I created the final video (hyper-lapse) by putting all the photos that I took into one folder. I then opened Photoshop. Once Photoshop was opened, I went to into the "File" menu and then clicked on "Open".   Once I had done that, I Navigated to the folder where all the photos were. I selected the first photo that I took.  Once the Photo has opened in photoshop, I went to the "Dialogue Box" and then clicked on "Image Sequence" By clicking "Open", it will import the photos into a time-lapse video fi...

The Anatomy & How the Camera Works

The Anatomy Of The Camera: https://www.pinterest.co.uk/pin/338473728219110890/ The viewfinder - This is what the photographer looks through to create the image and to see what they are shooting in front of the camera. Film speed dial - This allows the photographer to change how fast the film goes past the mirror which would allow for either a longer or shorter exposure time. Shutter release - A button on the camera or anything that can be used to trigger the shutter release. Film advance lever - This allows the photographer to pull the film from within the canister, out and onto the spool. Exposure counter - This shows how many exposures have been taken and how many are left on the roll of film. Mirror - Allows the photographer to looks through the lens to see what is being captured. Pentaprism - Allows the photographer to look through the lens through a viewfinder with everything the correct way up and around. Shutter speed ring - This is the amount ...